
Where DIY meets fitness meets minimalism.
If you want the best workout equipment to use at home that’s cheap, minimalist and effective, you can’t do better than the sandbag. For practical reasons, it’s the cheapest weighted equipment if you make them yourself (about $25 to make vs. $100 to buy kettlebells), takes up minimal space in your home and is super versatile. You can build or modify an entire workout around one sandbag, making it a one-stop fitness shop, which is fantastic for home workouts. Also, the sandbag is one of the best pieces of equipment for working your entire body, including the core. It’s also a lot cuddlier and user-friendly than kettlebells, dumbbells, and barbells.
What IS a sandbag?
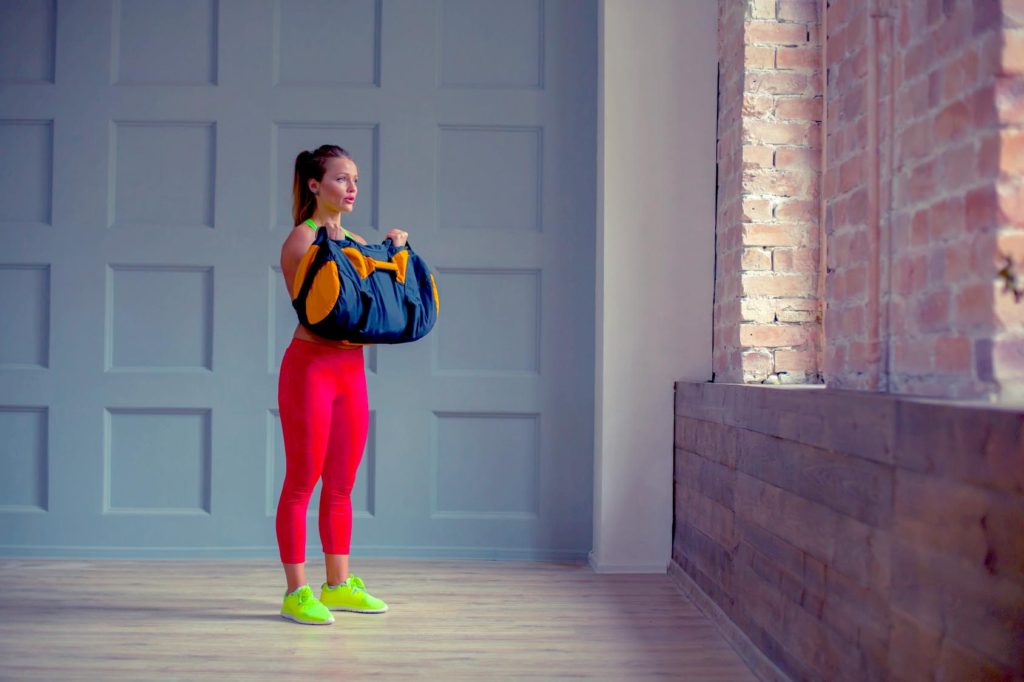
This is a sandbag when I think of a sandbag:

Sandbags are usually a small-ish duffel bag or duffel bag-shaped weighted object. It usually has a handle or two, and you can pick it up with those handles or around the middle, and use it for all kinds of exercises.
If you do an internet search, you’ll likely see a lot of huge male bodybuilders or Crossfitters running around with something on their shoulders that looks like a duffel bag filled with a dead body. You can certainly make them that large if you wish, but you probably don’t want to or need to.
You can buy sandbags (the pic above has a link, and here is another on Amazon), but they usually don’t include the weight because it jacks up the shipping price. Sometimes they are called “core bags,” “stability bags,” “Bulgarian bags” or something similar. Even if they are called “sandbags” they don’t always have sand in them. For a homemade one, pebbles are better. I’ll get to that.
11 reasons that a sandbag is the best and only piece of home workout equipment you need.
1. It burns a lot of calories.
Because the weight inside is constantly shifting around, your body has to constantly shift with it, using more energy. It’s also almost always using the entire body in multiplanar exercises, so you’re involving more muscle groups.

2. It’s cheap.
You can buy one for $50–$100, which is far cheaper than kettlebells of the same weight, but if you make one, it will cost you $0–$25, depending on what you need to buy.
3. No bruising.
If you’re still mastering kettlebells (like me), then you might find mysterious bruises on your arms from flipping the bell over onto your arm, or banging it into your leg by accident. Sandbags aren’t rigid, which makes doing cleans and snatches much more forgiving.
4. It’s not as dangerous.
Not only is the sandbag softer than a lot of weighted equipment, but it’s also not something you typically lift above your head in precarious one-armed positions like you might a kettlebell. And if you did (but please don’t), it would hurt less than a rigid weight if ever came crashing down on your head.
But seriously, don’t be stupid.
5. It’s a whole gym all by itself.
When I first started doing metabolic resistance training, a homemade sandbag was the only piece of workout equipment in my home gym, and it was the best thing for me. I could modify almost any exercise that normally used dumbbells or kettlebells, and in some cases, it made the exercise better. There are loads and loads of exercises you can do with the sandbag involving every muscle in your body.
And it takes up about the same space as a small dog. (Only it’s much less cute unless maybe you added fur and a face.)
6. It’s fantastic for your core.
Not only is the center of gravity shifting constantly, but because you almost always hold it with both hands, your entire core is involved in any sandbag exercise.
7. It’s great for full-body compound exercises.
The sandbag is one big unit, making it a little unwieldy, but that’s a good thing. You can’t swing it all around and through your legs like a kettlebell, but where you lack one-handed dexterity you gain two-handed stability, core involvement, and craploads of functional strength. Doing a squat, clean and press, for instance, works seamlessly, feels fantastic, and isn’t dangerous for a workout newbie.
8. You can drop it, drag it or pick it up quickly.
Because of this, it’s great for weighted/bodyweight combo exercises. You can throw it down, pick it back up or drag it across the floor easily, making it really easy to do a combination where you have some bodyweight exercise right after a weighted one. For instance, you could do a pick-up squat, placing the bag on your shoulder for the squat, then throwing it down quickly for a push-up. Another great combo is a drag and push-up, where you plank over the sandbag, then pull it across the floor to the other side, do another push-up, and pull it across to the other side.

9. It’s great for beginners.
For one, it’s less intimidating than dumbbells, barbells or kettlebells. But also, it’s just a heavy-ish object. You still have to keep proper form, mind you, and always be careful to choose or make or prepare the sandbag for a weight that’s right for you. Also, as mentioned, it’s easier on the body if it crashes into you.
10. For those who are experienced, it opens up new exercises.
The sandbag is excellent for beginners, but it’s a great way for experienced workout nerds to find new exercises and use their bodies in new ways. Even if you’re used to doing the same exercises with different equipment, the nature of the sandbag will require your body to adjust to something different. And then there are all the new exercises you can add to your repertoire.
11. It can comfortably rest on your body.
The sandbag is malleable, so you can place it on your upper back or shoulders for squats and lunges, something you can’t do with dumbbells or kettlebells. This means that those lower-body exercises use the arms less, which is ideal for beginners who can’t hold weights up easily but have the leg strength to do the exercise. The sandbag is one of the best pieces of equipment to use for weighted bridges since it rests easily on the abdomen.
Buying a sandbag.
There are benefits to buying a sandbag. Sandbags get thrown around a lot, so you want to make sure it holds up and doesn’t leak. You also want to make sure it has relatively sturdy handles that are comfortable to hold. Buying one helps with both of these issues.
Look for one with handles. Ideally, it has 3 different handle positions: one parallel with the length of the sandbag, two that are perpendicular to the length of the sandbag, and one on both ends. Some don’t have any handles because they are meant to grab around the girth of the bag, or the bag flops around a bit so you can place it on your shoulders comfortably. Do your research. Handles make the sandbag more versatile, especially for more conventional exercises like deadlifts, bicep curls, cleans, snatches, and more.
Also look for one with weight included, unless it’s very cheap and you are prepared to fill it yourself. If so, see below in the DIY section for ideas.
Make sure it isn’t too rigid. The beauty of the sandbag is that it’s a bit floppy, making it more challenging to secure. It also gives your body a different experience from other weights. In fitness, variety is queen.
Making a sandbag at home.
This is the route I went, and I love it. It works great, it looks badass and it cost me $25, which is on the expensive end, believe it or not. I didn’t have any of the items sitting around, so I had to buy more than I needed for just one sandbag (so I made two, actually).
The downside of this is that if you use the method I did, then you’re touching a lot of duct tape. Sure, it’s strong, but I did have to reinforce it once in a while, maybe every six months. And the glue would come off on my hands a bit.
Another downside is that for every bit as badass as a duct taped-swaddled homemade equipment looks, it’s also pretty janky. If you take it out in public and care about that kind of thing. it’s not ideal. Then again, you could just stay home, where it doesn’t matter if the best home workout equipment out there looks a little bit janky. Eff those elitist workout biatches, amirite?
Ways to make your own sandbag.
There are lots of ways to do this, and maybe I’ll do a post or video on this one day since I had to throw away my sandbag once I moved cross country (sniff).
- Use a duffel bag and fill it. Here’s a set of instructions from Crossfit. This type of sandbag is larger and doesn’t always allow you to use handles. This method does allow you to adjust the weight inside, which is immensely helpful. You need sand/pebbles, construction bags, a duffel bag, and duct tape.
- Fill an inner tube with weight and secure the ends. You can see this video here. This is actually called a “Bulgarian bag,” and it’s shaped a bit differently than a regular sandbag. It is longer and skinnier than a sandbag, and its shape is a semi-circle, so it rests nicely on the shoulders for lower body exercises. It’s less versatile for other things, however. It has no handles, meaning you can’t do a clean with it. Other conventional exercises might be a bit of a challenge.
- Fill a grocery bag with pea pebbles and cover it with duct tape. This is the method I used. I couldn’t find a duffel bag to use, so I bought pea gravel, construction bags and loads of duct tape at the hardware store. Then I went back and bought more duct tape (you need a LOT). This sandbag looks like the filler bags on other how-to sandbag posts, only I added handles. I filled a construction bag (just a heavy trash bag) with 35lbs of pea gravel (pebbles; you can find it in the gardening section), secured it, then put it into a reusable grocery bag. The grocery bag I used wasn’t cloth, but it wasn’t the shiny, more rigid type. It was softer and more malleable. I then wrapped the handles of the bag around itself, then wrapped it all over in duct tape. The handles of the grocery bag became two perpendicular handles on the sandbag.

How do you use the sandbag?
My favorites, LovingFit and Zuzka Light (you might have to look up some of her old workouts here) have tons of sandbag workouts. I’ll be sure to add some as I build up the workout archive on this site also. Start out using it for squats, maybe lunges. You can hold in front of you or place on your upper back (just be sure to keep your back straight) or on your shoulder. Check out this great post on some full-body moves you can use the sandbag with. Get creative! But stay safe, in good form, and never do anything that has a smidgen of “mmmm maybe this will hurt.”
